Search
[wpdreams_ajaxsearchlite]
AVSnap provides a quick and easy way to add arrows on the connecting cable ends. You can add arrows in both directions, at any point on the line and you can also add cable names that are displayed above, below or on the center of the cable.
Step 1: Draw a single cable with several bend points on the project page. Disable the Draw Assist feature for this example.
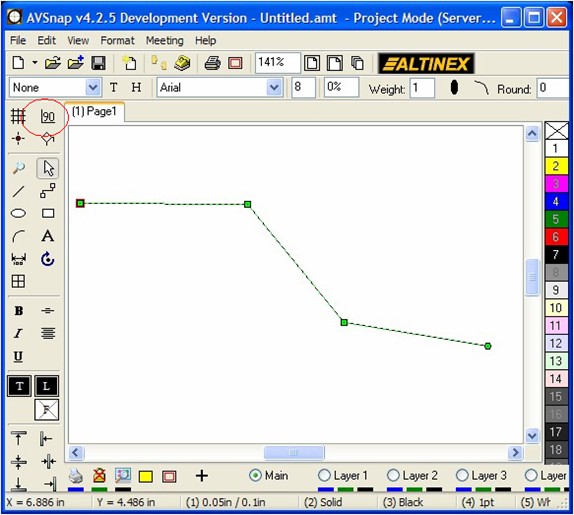
Step 2: While the cable is selected, notice that one end of the cable is rectangle and the other end is round. The rectangle denotes the start of the cable while the round indicates the end of the cable. Use the following shortcut keys , (comma) and . (period) to cycle through different options for arrows and cable names.
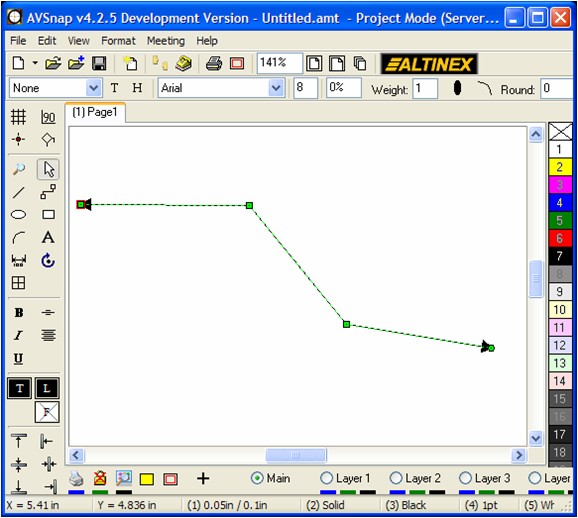
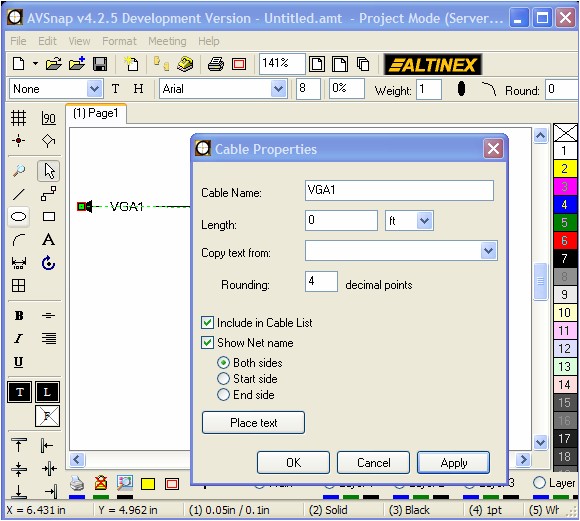
Step 3: Comma and period shortcut keys will cycle through arrows pointing to the left, right, displaying with cable name and other configurations. While the cable is selected, press shortcut key “K” and Cable name. This name can be displayed on a cable. You can use shortcut “V” to move the text above or below the cable line.
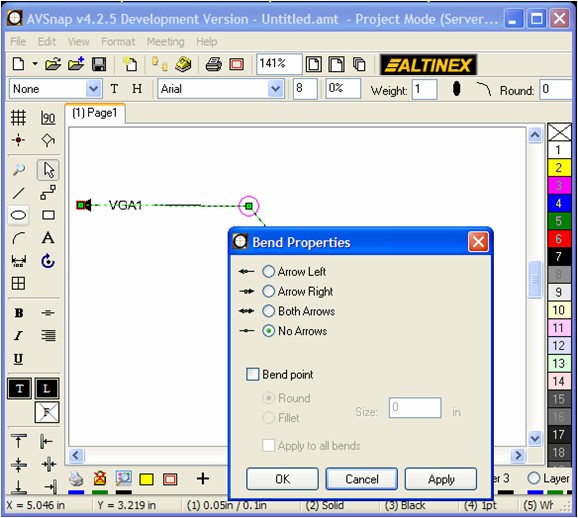
Step 4: To place arrows on the middle of the cable, double click on the bend point to display the arrow dialog box. Adjust settings as needed.
The same procedure applies to Line objects and also dimensional objects. Using arrows will improve drawing readability and will help when troubleshooting installations. Arrow sizes are adjusted proportionally to the line weight of the cable object.
Want More Help?
Get Your Free Copy of AVSnap Now
Save Your Time And Effort And Start Using AVSnap To Control Your AV System