Search
[wpdreams_ajaxsearchlite]
This tutorial will explain how to create a set of buttons that can be used to control external devices. With AVSnap’s technology, creating a GUI is fast and easy.
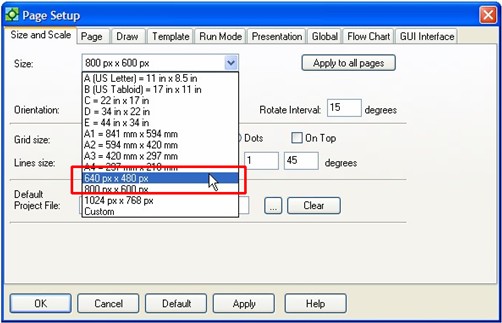
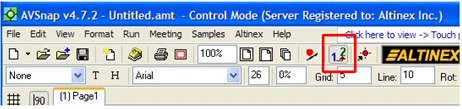
Step 1: Start AVSnap and switch to Control Mode. (This is done by pressing shortcut “P” and selecting page resolution in pixels).
Step 2: Click on the Button object and draw a button on the screen.

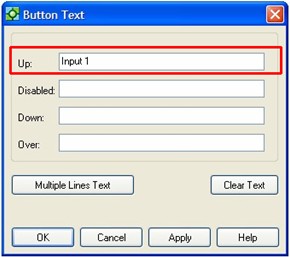
Step 3: Double click on the button to see the Text dialog box. Enter text “Input 1” and press OK. This text will be automatically copied to other fields.
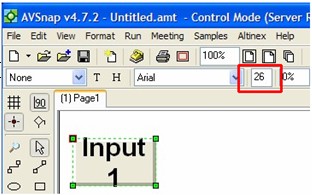
Step 4: Adjust font size so that the text fits into the button.
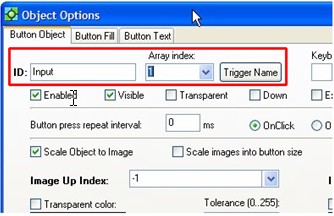
Step 5: Click on the button and press “=” shortcut. This will display the Button properties dialog. Change the object’s ID to Input and Index to 1. Press Apply and then press the “Trigger Name” button to change subroutine names appropriately.
Step 6:Make sure that the Auto Increment option is selected.
Copy and paste the original button six times. Place the mouse cursor on button #2 to see the tooltip and to see that also it has been indexed as button #2. With this approach you will get buttons that have the same name but different indexes, in other words, you will have an array of buttons.

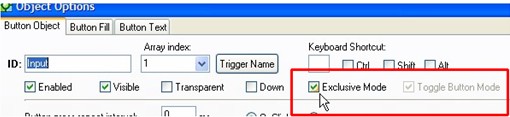
Step 7: Select all buttons and press “=” shortcut. Click the Exclusive Mode checkmark. This will set up buttons in such that only one button will be displayed as selected.
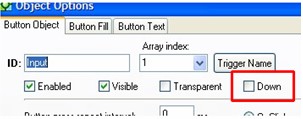
Step 8: Click on button #1 and press “=” shortcut. Click Down checkmark to set default button selected.
Step 9: Press F9 and run the application. You can press any button but only one button will be selected.

Want More Help?
Get Your Free Copy of AVSnap Now
Save Your Time And Effort And Start Using AVSnap To Control Your AV System