Search
[wpdreams_ajaxsearchlite]
AVSnap has easy to use layer functionality. Objects can be placed on 10 different layers and can be selected to be printable, visible and editable. With layer highlight and the select button, users can easily identify which objects belong to which layers and select all objects on a specific layer.
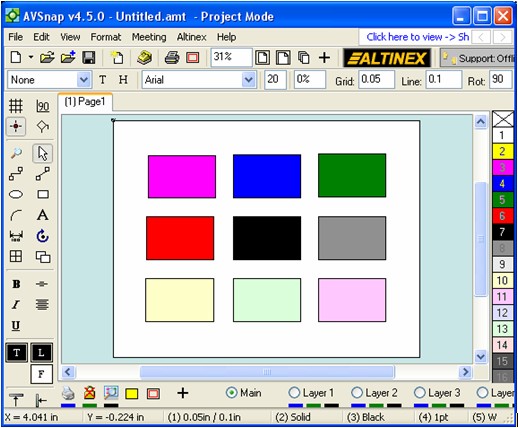
Step 1: Open AVSnap and draw several rectangles filled with different colors.
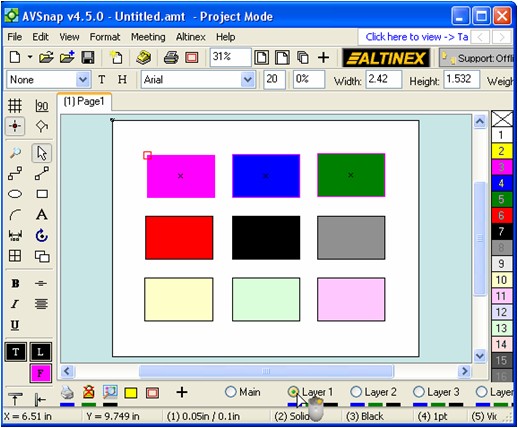
Step 2: Select the 3 rectangles on the top and click on the Layer 1 radio button. Then select the 3 rectangles in the middle and click the Layer 2 radio button. Finally select the 3 rectangles on the bottom and click the Layer 3 radio button. By clicking the layer radio buttons, the objects are moved to that layer.
Step 3: De-select all objects by pressing the “Esc” key or by clicking on the empty part of the project page. Now click the radio button for Layer 3 and then click on the layer highlight button. All objects on this layer will be highlighted with a yellow outline.

Step 4: Now click on the layer selection button and all objects on Layer 3 will be selected.

AVSnap provides powerful layer capabilities and simplifies graphical designs using layer control buttons. Any object can be selected on a specific layer and easily moved to a different layer. In addition, each layer can be renamed by pointing to the layer name and right-clicking on the mouse.
Want More Help?
Get Your Free Copy of AVSnap Now
Save Your Time And Effort And Start Using AVSnap To Control Your AV System