Search
[wpdreams_ajaxsearchlite]
AVSnap provides an easy way to configure default settings for your many drawing tools. Once the default settings are configured, AVSnap will always start up with the same configuration. This feature simplifies the project design process.
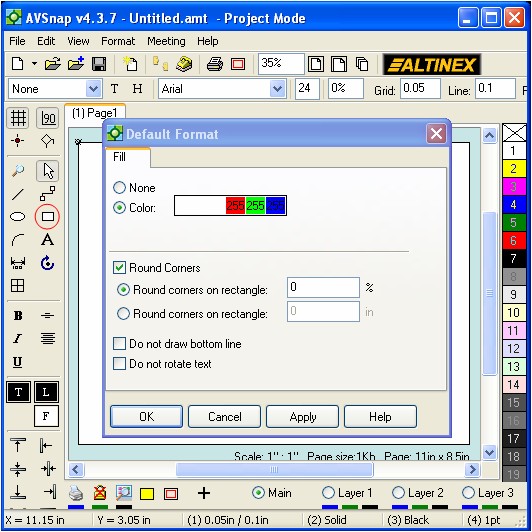
Step 1: There are many ways to set the default configuration. Right mouse button click the tool icon, such as Cable tool, to display the default configuration for that tool. For example, right click on the rectangle tool to view the default rectangle dialog box. This shortcut applies to most of the other tools.
Step 2: Another way to set default settings is to use shortcut “D”. Select an object that you want to set default settings for and press shortcut “D”. Once you press OK to close the configuration form, the object will be changed to the new settings and the same settings will be saved as default settings f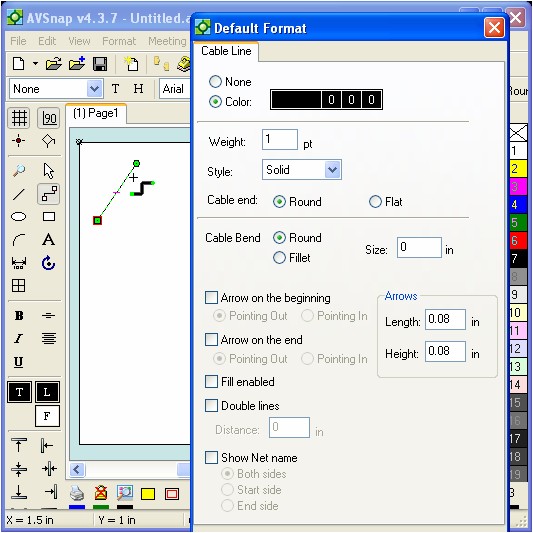 or this tool.
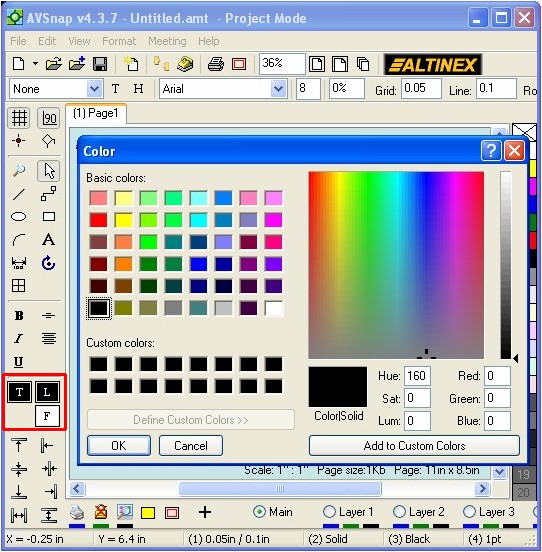
Step 3: It is simple to configure the default colors for Texts, Lines or Fill properties of any object. Just make sure nothing is selected on the design page by pressing the “ESC” key several times, then click on the color tools and select the default color from the Color selection form. You can also select preset colors from the color tool bar on the right hand side.
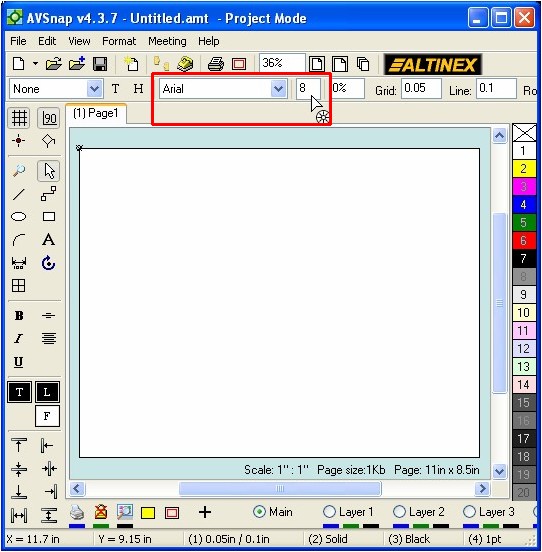
Step 4: To set the default text size and font, make sure nothing is selected on the design page by pressing the “ESC” key several times and then adjust the text size and font on the format tool bar.
Presetting your tools to the right color, line weight, line type, and font size can make a big difference when working on a project. Once the default settings are configured, they are preserved for when AVSnap is re-started again.
Want More Help?
Get Your Free Copy of AVSnap Now
Save Your Time And Effort And Start Using AVSnap To Control Your AV System