Search
[wpdreams_ajaxsearchlite]
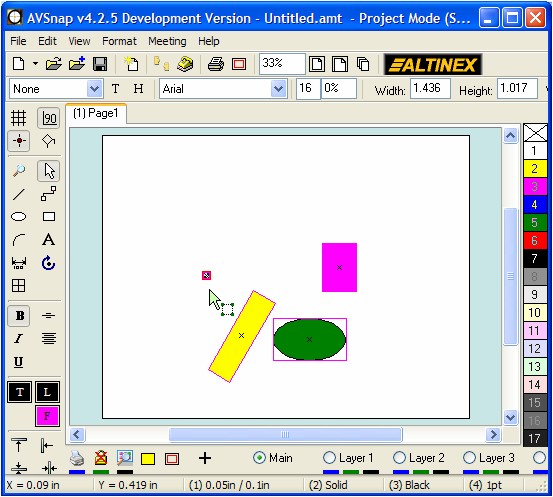
AVSnap provides many different ways to rotate single objects or a group of objects. Using the Origin symbol simplifies many rotation tasks.
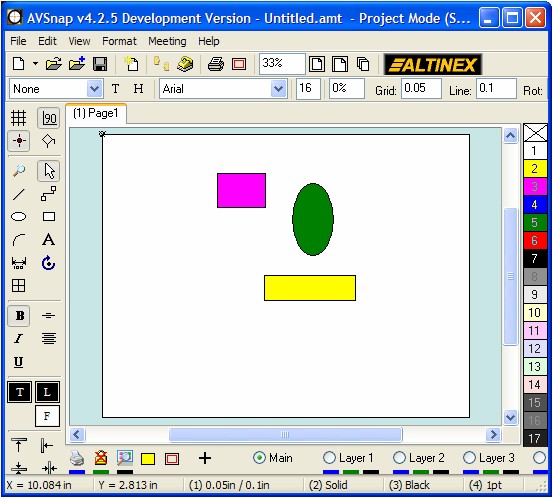
Step 1: Create several objects on the project page. Apply a different background color to each one.
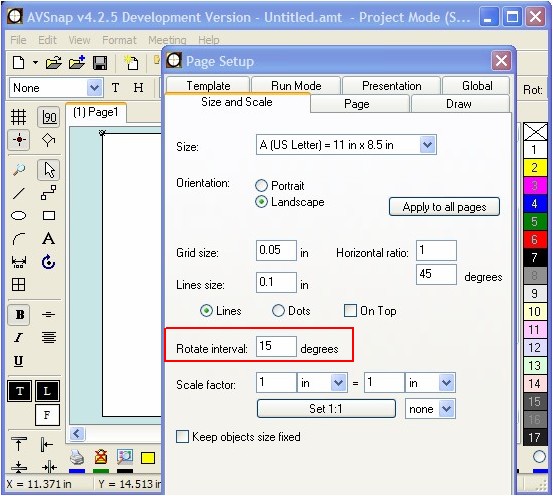
Step 2: Select Rotating Angle from Page Setup. Press shortcut “P” to access the Page Setup form. Under the Size and Scale tab, set “Rotate interval” to match your requirements. For fine rotation select 1 degree. For discrete angle rotation select 15, 30 or 45 degrees.
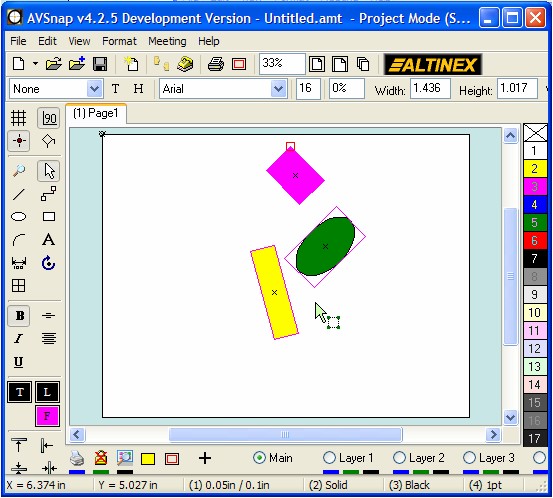
Step 3: To rotate any object, select that object and press the shortcut key “Space Bar”. The selected object will be rotated the number of degrees specified in “Rotate interval”.

Step 4: If you want to rotate a group of objects, select all the objects and press “Space Bar” again. To rotate objects in the opposite direction, use the “Shift + Space Bar” shortcut.
Step 5: To rotate objects relative to a specific point, use the Origin object as a reference point. Move the origin object from the top left corner of the project page to a specific point or by pressing “Ctrl + Space Bar” to move it to where the mouse pointer is positioned. (Make sure all objects are de-selected when using the Origin shortcut) .
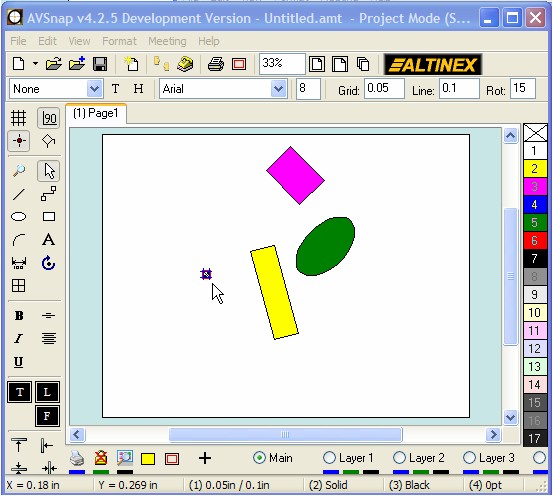
Step 6: Now select all objects including the Origin object, and press Space Bar to see objects rotating around the origin.
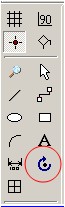
In addition to using the shortcut keys to rotate the object, the Rotate Tool on the side menu can also be used to rotate each object or groups of objects. With the combination of these tools, it is easy to rotate any object in AVSnap.
Want More Help?
Get Your Free Copy of AVSnap Now
Save Your Time And Effort And Start Using AVSnap To Control Your AV System