Search
[wpdreams_ajaxsearchlite]
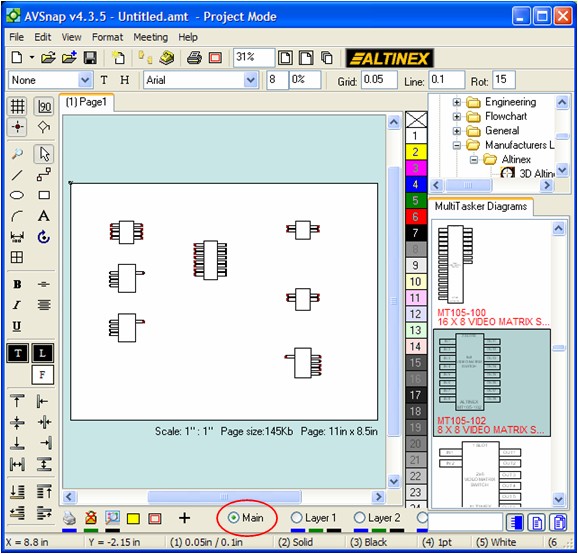
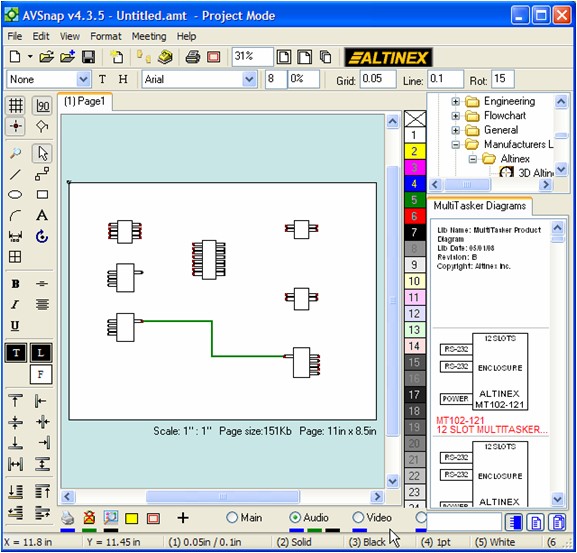
AVSnap provides up to 10 layers to be used on each page. Each page’s layers are independent of each other. Using layers during a project design simplifies diagram views and printings.
Step 1: Open the Altinex library and place several symbols on the project page. Notice that by default all objects and symbols are placed on the Main layer. The Main layer can not be disabled or locked.
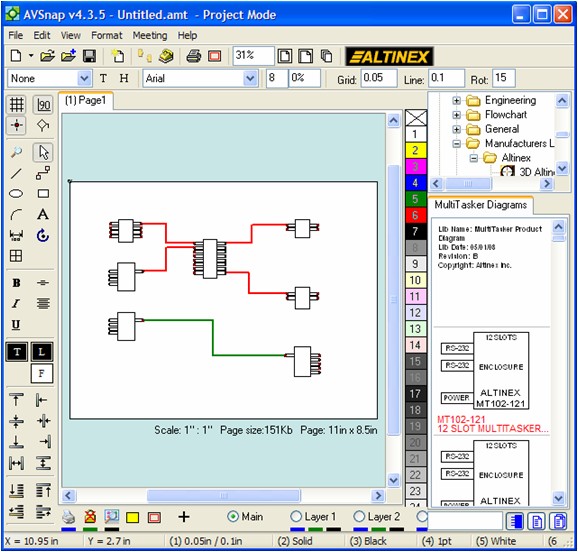
Step 2: Connect the symbols with cables using Red for Video signals and Green for Audio signals.
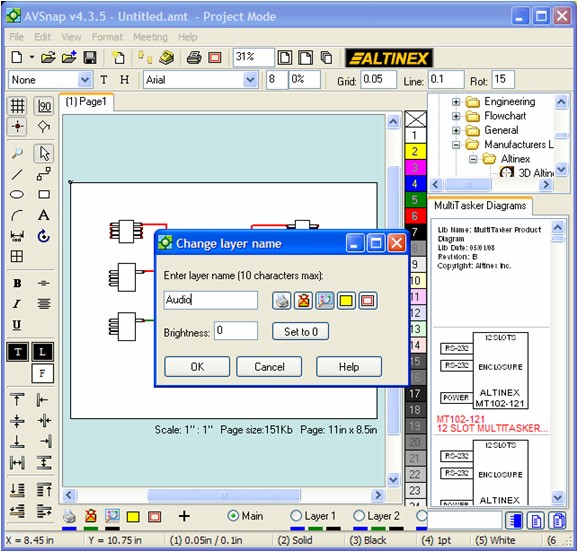
Step 3: Right click on the Layer 1 text and re-name this layer as Audio. Then right click on the Layer 2 text and re-name this text as Video.
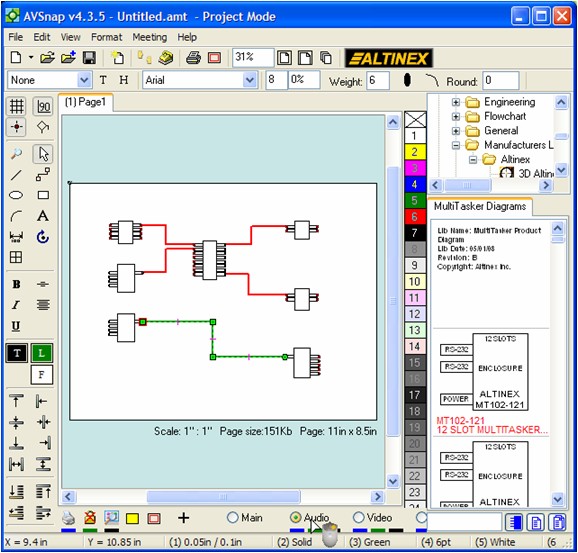
Step 4: Now select the Red cables and click on the Video layer selection. Then select the Green cables and click on the Audio layer selection button. This action will assign cables to a specific layer.
Step 5: Each layer has three color buttons associated with it and also buttons on the right side of the layer bar. These buttons allow the disabling of a specific layer, to disable printing of a specific layer and to make a layer invisible. To make the Video layer invisible, click on the Black bar below the Video layer text. When the layer is invisible, it is also disabled at the same time.
Using page layers in AVSnap simplifies the system design process and allows users to focus on a specific design portion of the project.
Want More Help?
Get Your Free Copy of AVSnap Now
Save Your Time And Effort And Start Using AVSnap To Control Your AV System